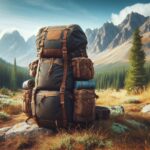
Backpacking through nature is one of the best experiences, offering so many joys. But there are some challenges too, especially if you don’t pack right. If you overpack, you’ll end up feeling weighed down and uncomfortable. Underpack, and you might end up cold, hungry, or both.
This article is here to help you pack the right way. I’ll share my well-organized packing strategy, based on years of experience. Your backpack isn’t just a random collection of gear—you need to pack with purpose. But don’t worry! Below, I’ll walk you through what to pack and how to pack it so you can enjoy your backpacking trip to the fullest.
I’ve been backpacking for over 20 years, writing about it for places like Outside Magazine and SPY. Here’s a summary of what I’ve learned, so you can avoid the mistakes I made and get it right from the start.
Backpacking Essentials – Your Checklist
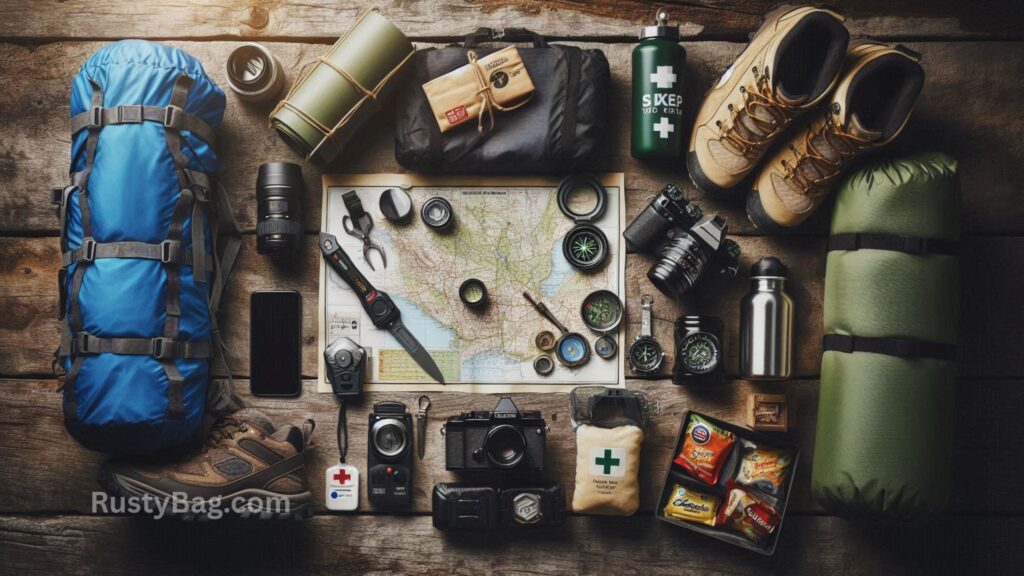
- Food: I love freeze-dried meals, especially the ones from Mountain House, for dinner. Jerky, Snickers bars, and trail mix keep me going throughout the day. For breakfast, I stick with protein oatmeal and a cup of instant coffee.
- Eating Utensils: It’s easy to forget utensils, but trust me, eating hot oatmeal with your hands is a challenge. Don’t forget a spork and a cup or bowl. I prefer a metal spork (like the Snow Peak titanium spork), but in my younger days, I’d just grab free plastic utensils from a fast food place—they’re lightweight, free, and come with napkins that double as emergency toilet paper.
- Water Bottles: I like using two Smartwater bottles—they’re lightweight, fit perfectly in my pack, and work great with mini water filters like LifeStraw, Sawyer, or Platypus.
- Water Purification: To avoid getting sick, I use the LifeStraw Solo filter. For a more budget-friendly option, chemical purifiers do the job too. If you want a physical pump, MSR MiniWorks EX is a great choice.
- Backpacking Stove/Fuel: Canister stoves, like Jetboil Flash, are super easy to use and boil water quickly. The MSR Pocket Rocket is another popular option.
- Sleeping Pad/Sleeping Bag: A comfortable sleeping pad is a must. Don’t skimp here—getting good rest is key to enjoying your trip. A good sleeping pad will make a big difference.
- Backpacking Tent: You could go with a tarp to save weight and cost, but I recommend a tent for beginners. It’ll keep you safe from the cold, wet conditions, and bugs.
- Map and Compass: A topographic map and compass are essential for navigation and safety. Make sure you know how to use them.
- First Aid Kit: A pre-made first aid kit from Adventure Medical Kits is a great choice for beginners. It removes the guesswork and ensures you’ve got what you need.
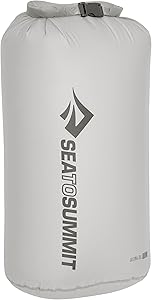
Sea to Summit Ultra-Sil Dry Bag
For keeping your gear organized and dry, this lightweight dry sack is a must-have. Whether it’s clothing, food, or electronics, this waterproof sack will ensure everything stays dry and organized during your hike.
Also Read: How do I Pack Fragile Items Safely for Travel?
How to Pack Your Backpack
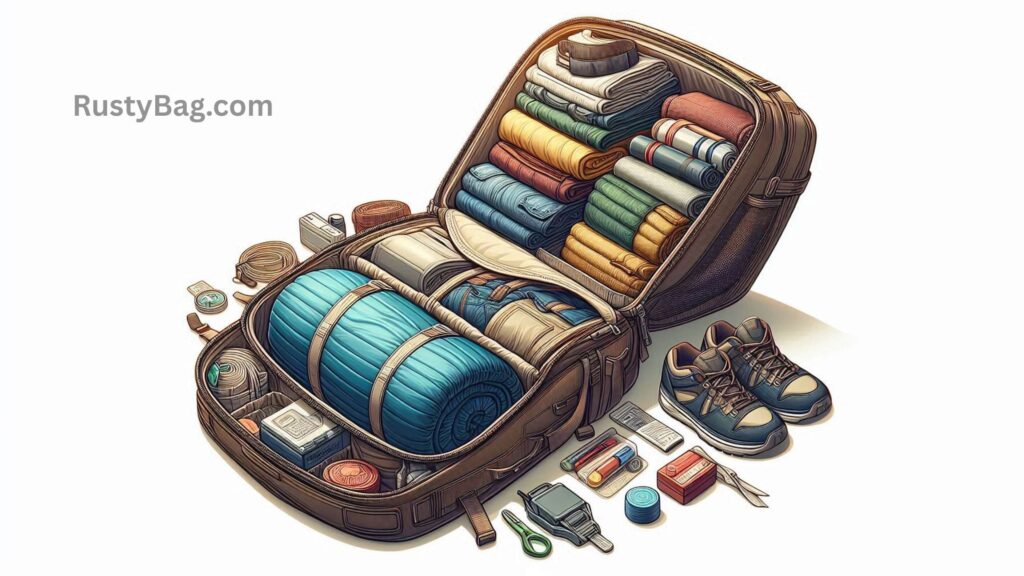
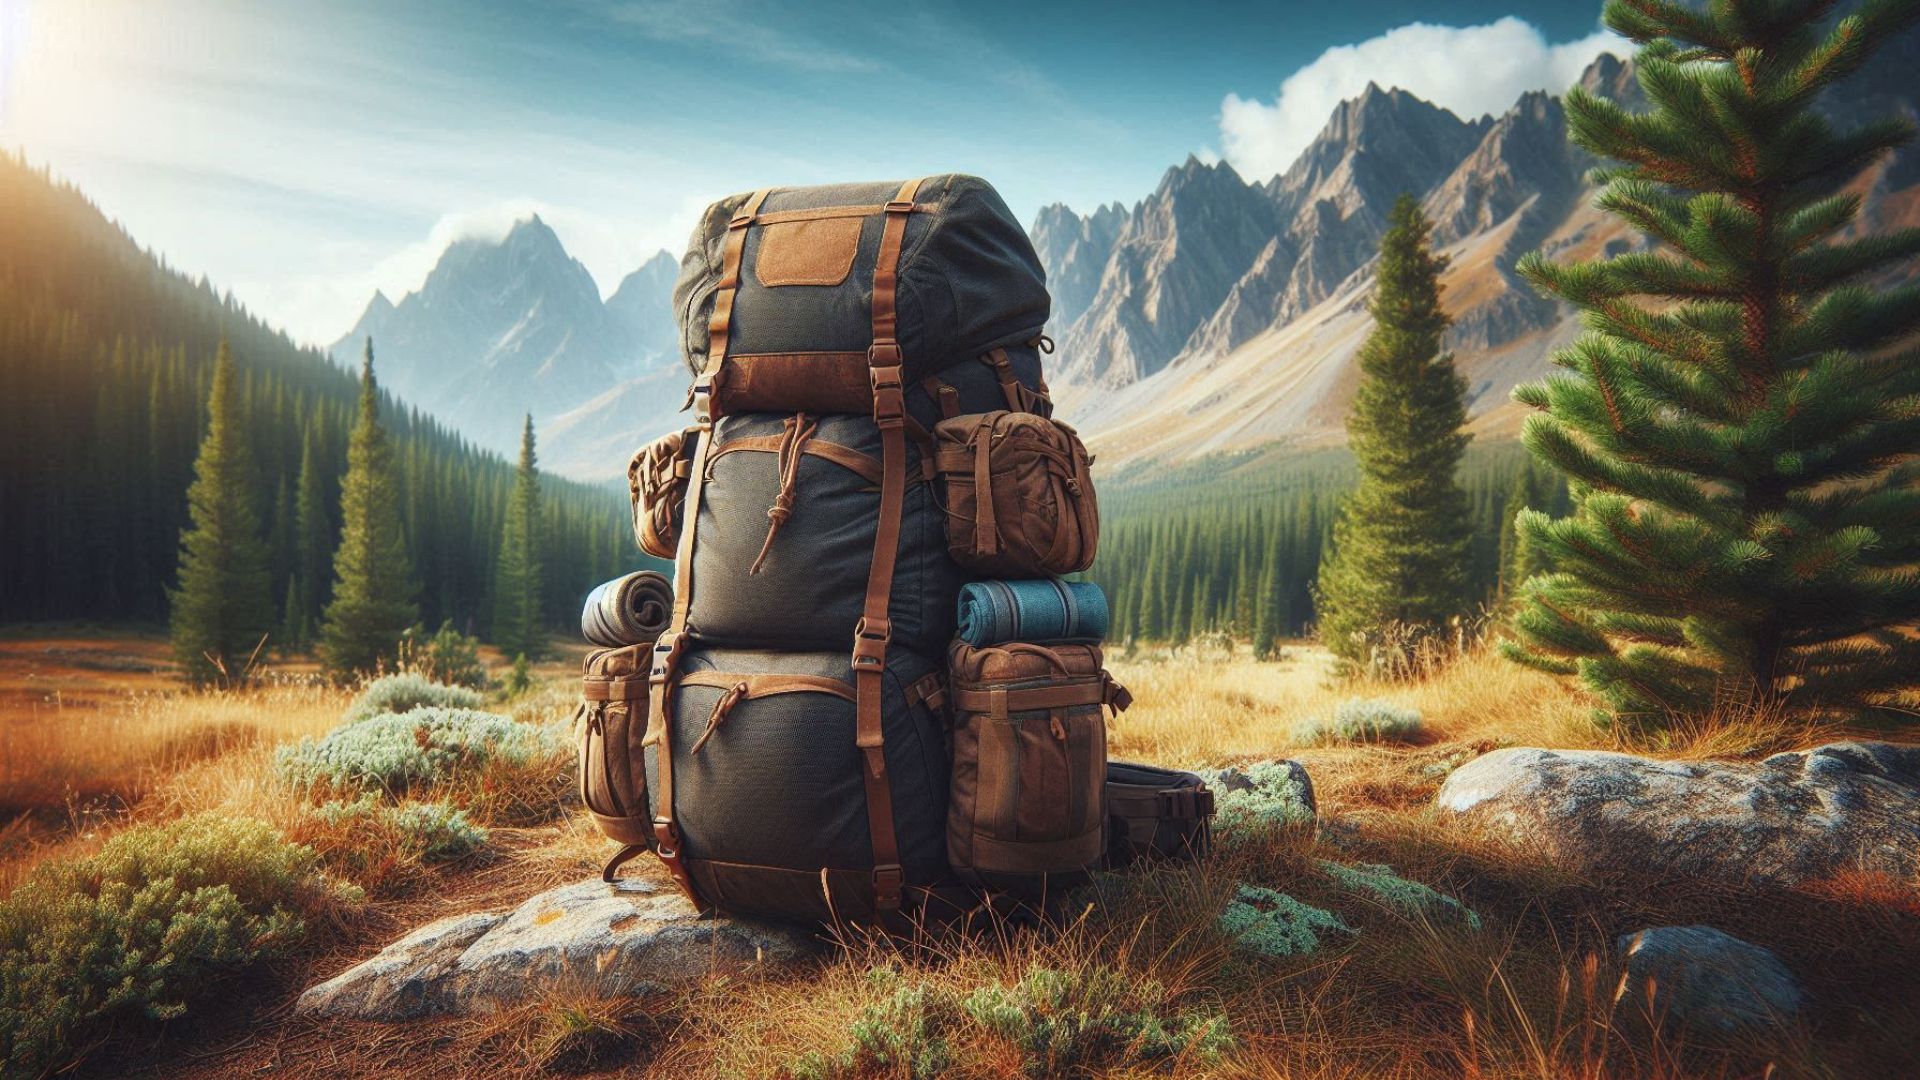
- Balance Your Weight: Heavy items should be close to your body and hips. Pack food and fuel at the back and bottom of your pack. This keeps the weight balanced, so your shoulders don’t take all the strain. Avoid packing heavy stuff at the top, as it’ll make you feel unbalanced and increase your chances of falling.
- Balance from Side to Side: It’s not just about the weight front and back—side-to-side balance is important too. An uneven pack can hurt your back and legs. Lay your gear out before packing and pair up items of similar weight. For example, keep your water bottles on each side of the pack to balance it out.
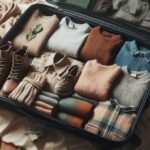
- Use Packing Cubes: Packing cubes help you stay organized and find things quickly. But they add some weight, so if you don’t mind a bit of extra weight, they’re a good option. If you want something super lightweight, check out Hyperlight Mountain Gear’s stuff sacks and packing cubes.
- Waterproof Your Gear: A cheap and easy hack is using a trash compactor bag as a dry bag. Line your pack with it, and you’ll have a waterproof liner for your gear. Just make sure you use trash compactor bags—they’re stronger and more puncture-resistant than regular ones.
- Pack for Easy Access: Taking your pack off constantly can be tiring and a hassle. I pack my water bottles, snacks, and sunscreen in easy-to-reach hip and chest pockets so I don’t have to stop and take off my pack. This way, I can hydrate, snack, and protect my skin while I’m walking.
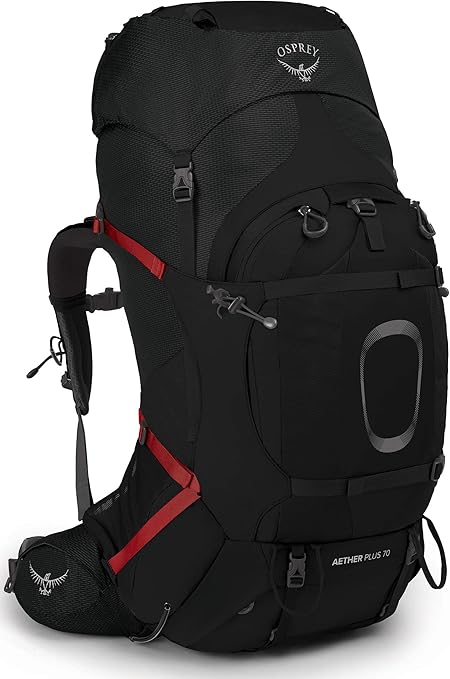
Osprey Aether Plus 70L Men’s Backpacking Backpack
The Osprey Aether AG (and its female counterpart, Ariel AG) is known for its adjustable suspension system, multiple compartments, and exceptional comfort.
Also Read: What are the Best Packing Hacks for a Carry‐On Only Trip?
I also put items I won’t need until I get to camp—like my tent and sleeping bag—in the most difficult-to-reach spots. These often happen to be heavier items, which work well at the bottom of the pack, closer to my body.
By following these tips, you’ll be well on your way to a more enjoyable and comfortable backpacking adventure!